

The project I have been working on has seven inset circles. While I love the look, it can be overwhelming. The project is designed to teach curves and help quilters overcome their fear of curves and inset circles. After making all my circles and fitting them into the quilt, here is my approach to inset circles and all of the tips I can think of to take the fear out of circles.
TIP: Take your time. Making inset circles is not fast. You will get a bit faster as you get more comfortable with them, but it is not fast. Put on some non-distracting music, take a deep breath and take your time.
TIP: Use a lot of starch. I find that if the fabric is not starched enough, it distorts more when I sew the inset circle.
I start by heavily starching both the background and circle fabrics. For this tutorial, I will be making a 10 inch finished circle, set into a 10.5 inch block. Cut an 11 inch square of the circle fabric (off-white) and a 12 inch square of the background fabric (aqua).

I really like this EZ Circle Cut template. But you can use any half or quarter circle that is accurate. For a 10 inch diameter finished circle, you will cut a 9.5 inch circle out of the middle of the 12 inch square. On this template, you fold the fabric in half, put the fold on the fold line and cut at the 9 inch groove.
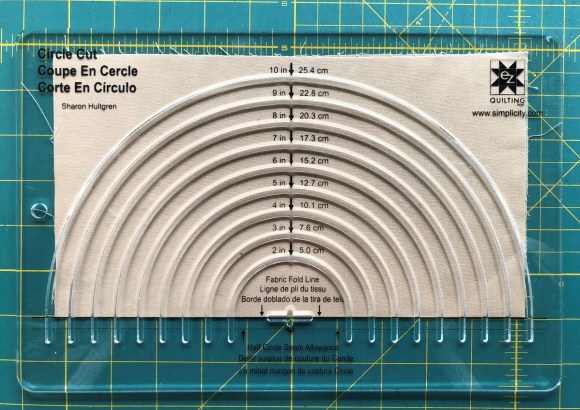
The circle fabric needs to be bigger than the cut out from the background. For a 10 inch diameter finished circle, a 10.5 inch diameter circle needs to be cut. On this ruler, you fold the fabric in half, put the fold on the fold line and cut at the 10 inch groove.
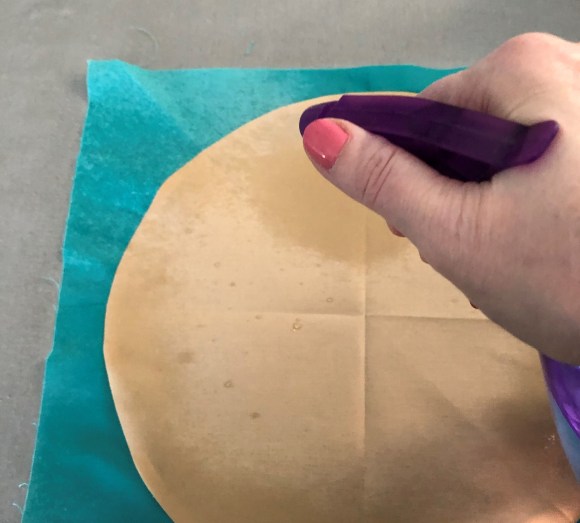
Once your background and circle are cut, fold each separately into equal quarters and press lightly with the iron to mark the quarters as you can see below.
Start by folding the background fabric so that the fabrics are right side together and the circle is laying flat. Pin the quarter marks of the background to the quarter marks of the circle.
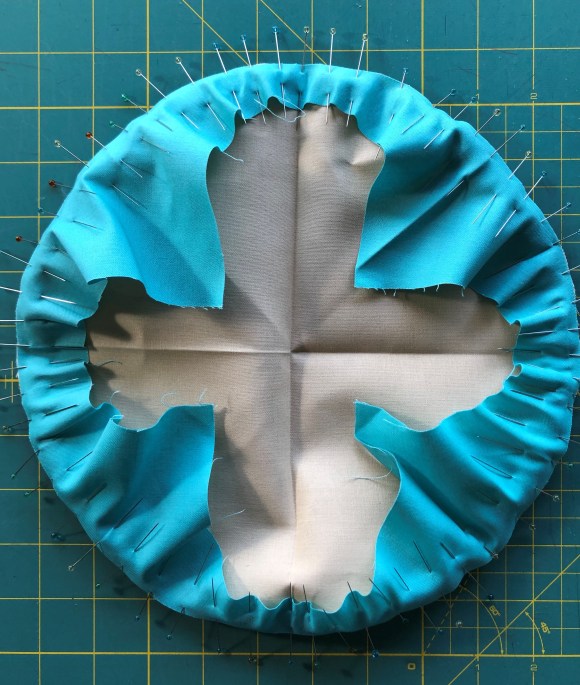
Then pin around the circle to make sure that the fabric is equally distributed and is not pleated or kinked. Pin from the background side.
TIP: I find that fine or very fine pins work best.
Some people swear by glue basting instead of pinning, but it has never worked well for me.
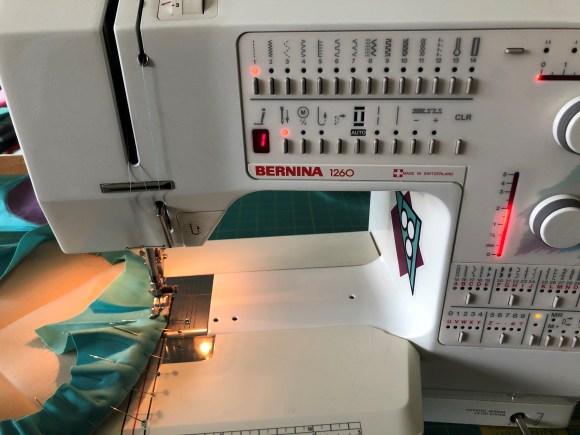
I find that it works best if I sew with the circle side down. Bernie, my sewing machine, is set up so the needle stops in the down position, and with the stitch length at 2, slightly shorter than the usual 2.5 stitch length. I always check my bobbin and my tension before I start sewing a set-in circle.

Stitch slowly until you come to the first pin. Pull the pin, use your finger to check that the fabric is laying flat, and slowly stitch to the next pin. Repeat all the way around the circle.

Secure your stitch at the end by backstitching or taking a number of tiny stitches.
After sewing, clip the seam allowance no more than 1/2 of the way to the seam. I usually clip about every inch around the circle.

After clipping all the way around, finger press the seam allowance toward the background.

Then press lightly all the way around, making sure the seam allowance is toward the background.

Then I spray the circle with water and press heavily to remove the quarter lines and finish the block.

Once the block is pressed and cooled, remove from the ironing board and take to the cutting board.

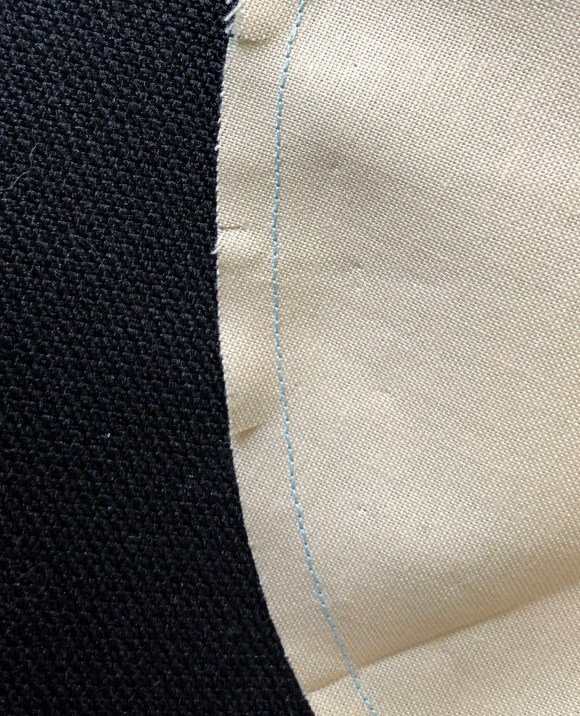
Measure 10.5 inches square, leaving 1/4 inch seam allowance around each side of the circle, as shown above. Trim.
That’s it – you now have a 10.5 inch block with a 10 inch diameter inset circle. It will make a 10 inch finished block with a fully inset circle.

