The only previous experience I have with group quilts is making a block for my quilt guild’s raffle quilt back in 2019. I took my packet of pre-cut pieces, sewed my block and turned it in. So, I don’t know what possessed me to volunteer to coordinate the 2025 raffle quilt. And just to make it more fun, I decided to create an original pattern. And to deisgn it ot use the Accuquilt 8 inch Qube.
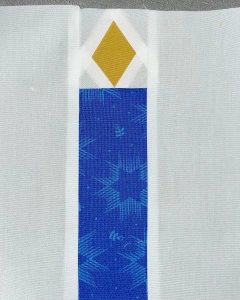
A few years ago, I played around with an idea I called 10 x 12 – ten different colors of twelve different blocks. Here is my favorite of those sketches.

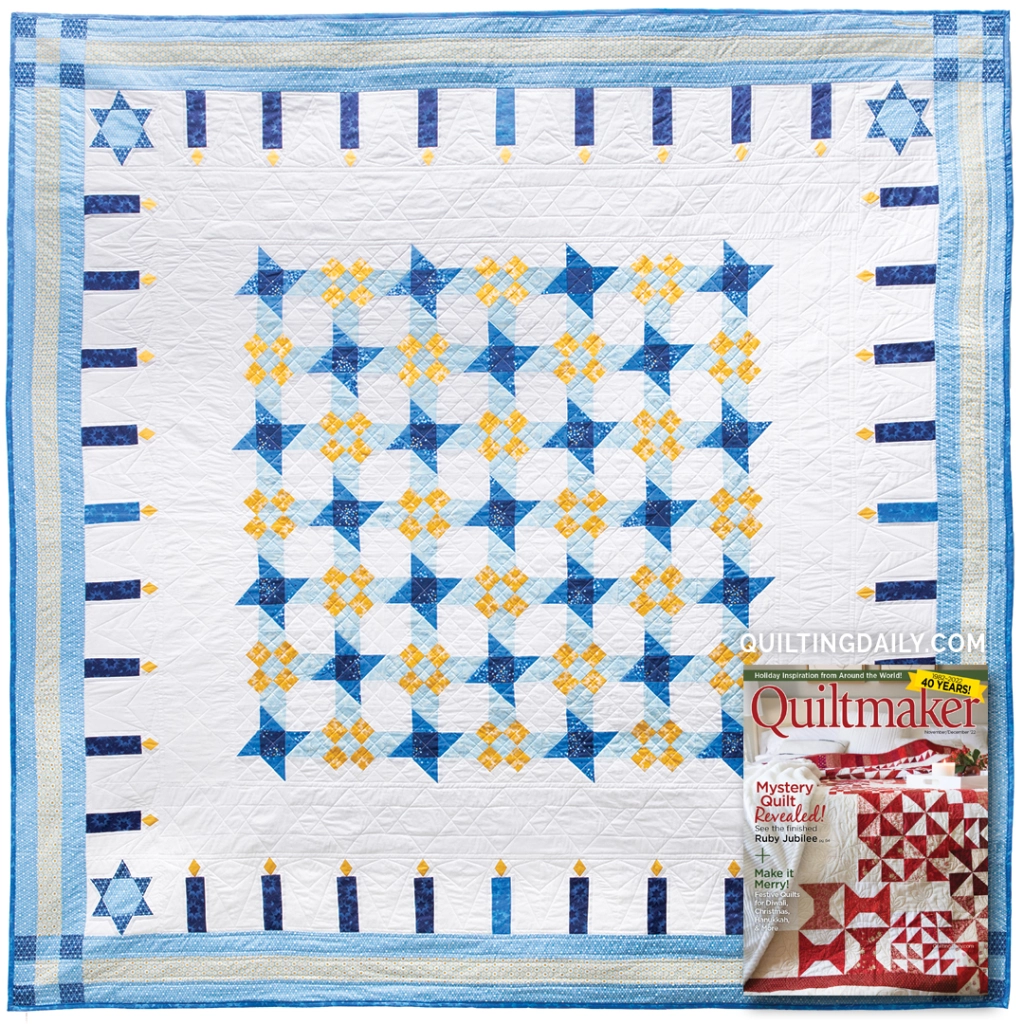
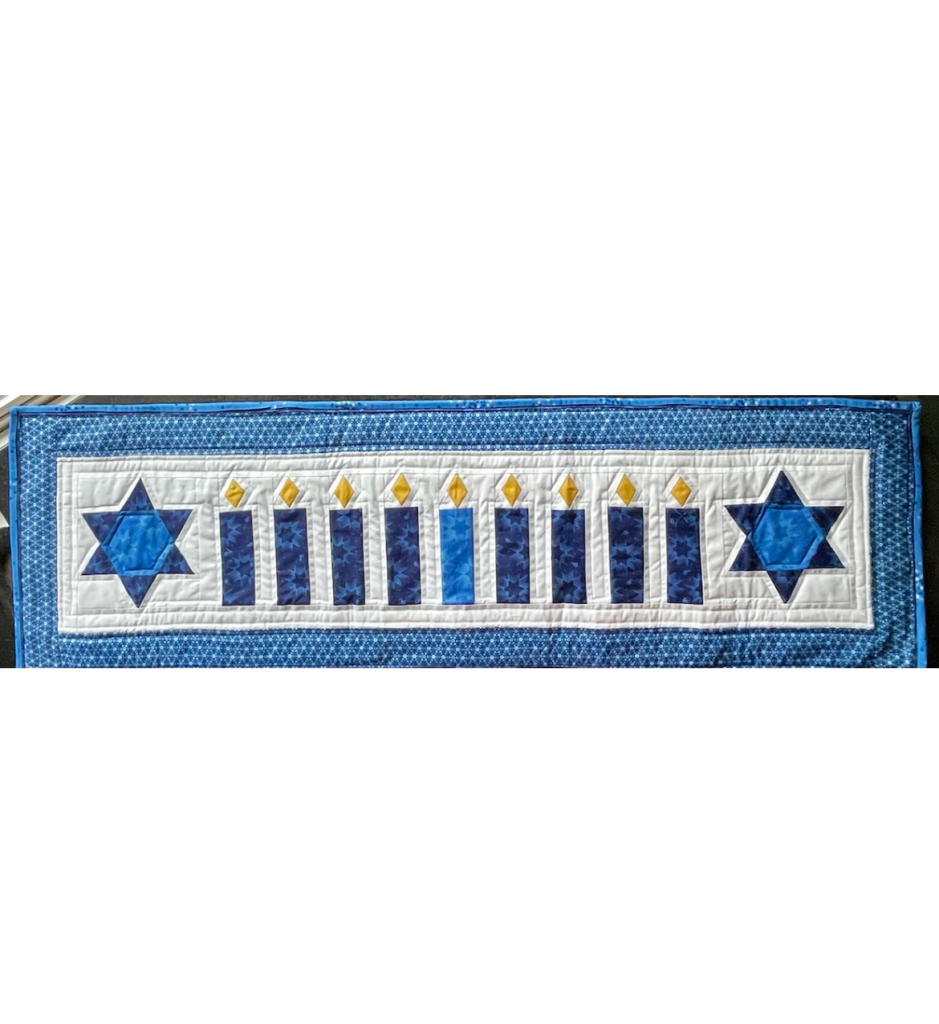
I worked off this idea, but selected blocks that could be made using pieces cut with the Accuquilt 8 inch Qube. Here’s the final design that was approved by the guild.

We decided on a Queen size quilt, so the borders were added to bring it to 92″ x 102″. I figured out my yardage, and bought my favorite black and crayon-color solids. I decided to buy enough fabric to make two quilts – the guild raffle quilt and a “trial” quilt for me to test the directions. I also bought an extra 10% of each color to allow for lost blocks, or ones that needed to be redone.
It took a long time to calculate how many pieces I would need to cut from each Accuquit die. I created spreadsheets for each of the block styles, then a master sheet of all the pieces needed. I spent a couple of weekends with a borrowed Accuquilt cutting out all the pieces. Each size and shape went into a separate gallon clear zipper bag.
Because I designed a quilt with 56 unique blocks, we needed 56 block kits. I wrote up directions for each of the 8 different block styles, and included a chart with how many of each piece was needed. My friends in the guild helped organize a party to put together the 56 kits for each block in the quilt. Within 2 hours, they had put together all 56 kits!
I started handing out kits at the November guild meeting, keeping careful records of who had which block. At the same time, I started making the blocks for my copy of the Quilter’s Rainbow (the name I decided on for this pattern). Within a week, I discovered that some of my written directions were wrong, and I had to send out e-mails to everyone with those block kits with the correction.
I also discovered that when I cut the pieces, some of them must have shifted, because they were not all as accurate as we had hoped. When guild members had pieces that they couldn’t work with, I traded them for more accurate pieces, and I used the “off” pieces for my own quilt.
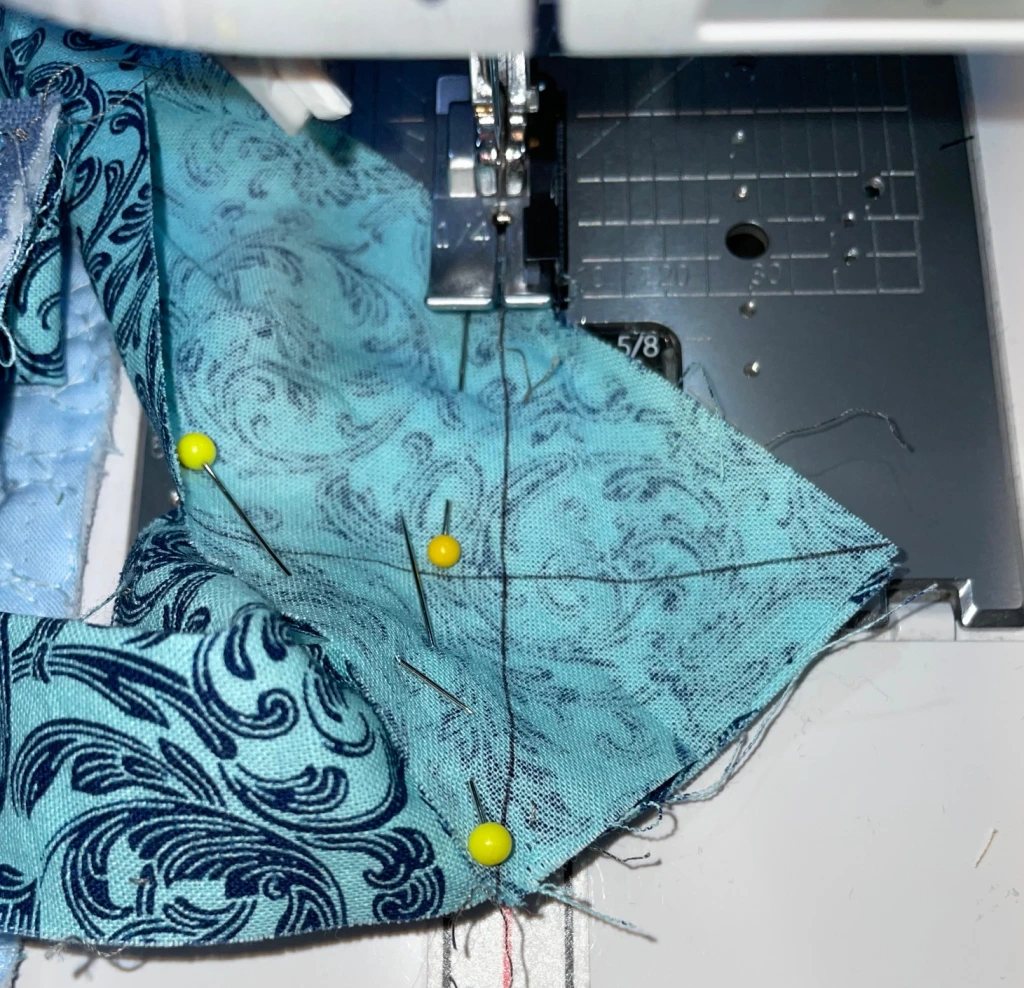
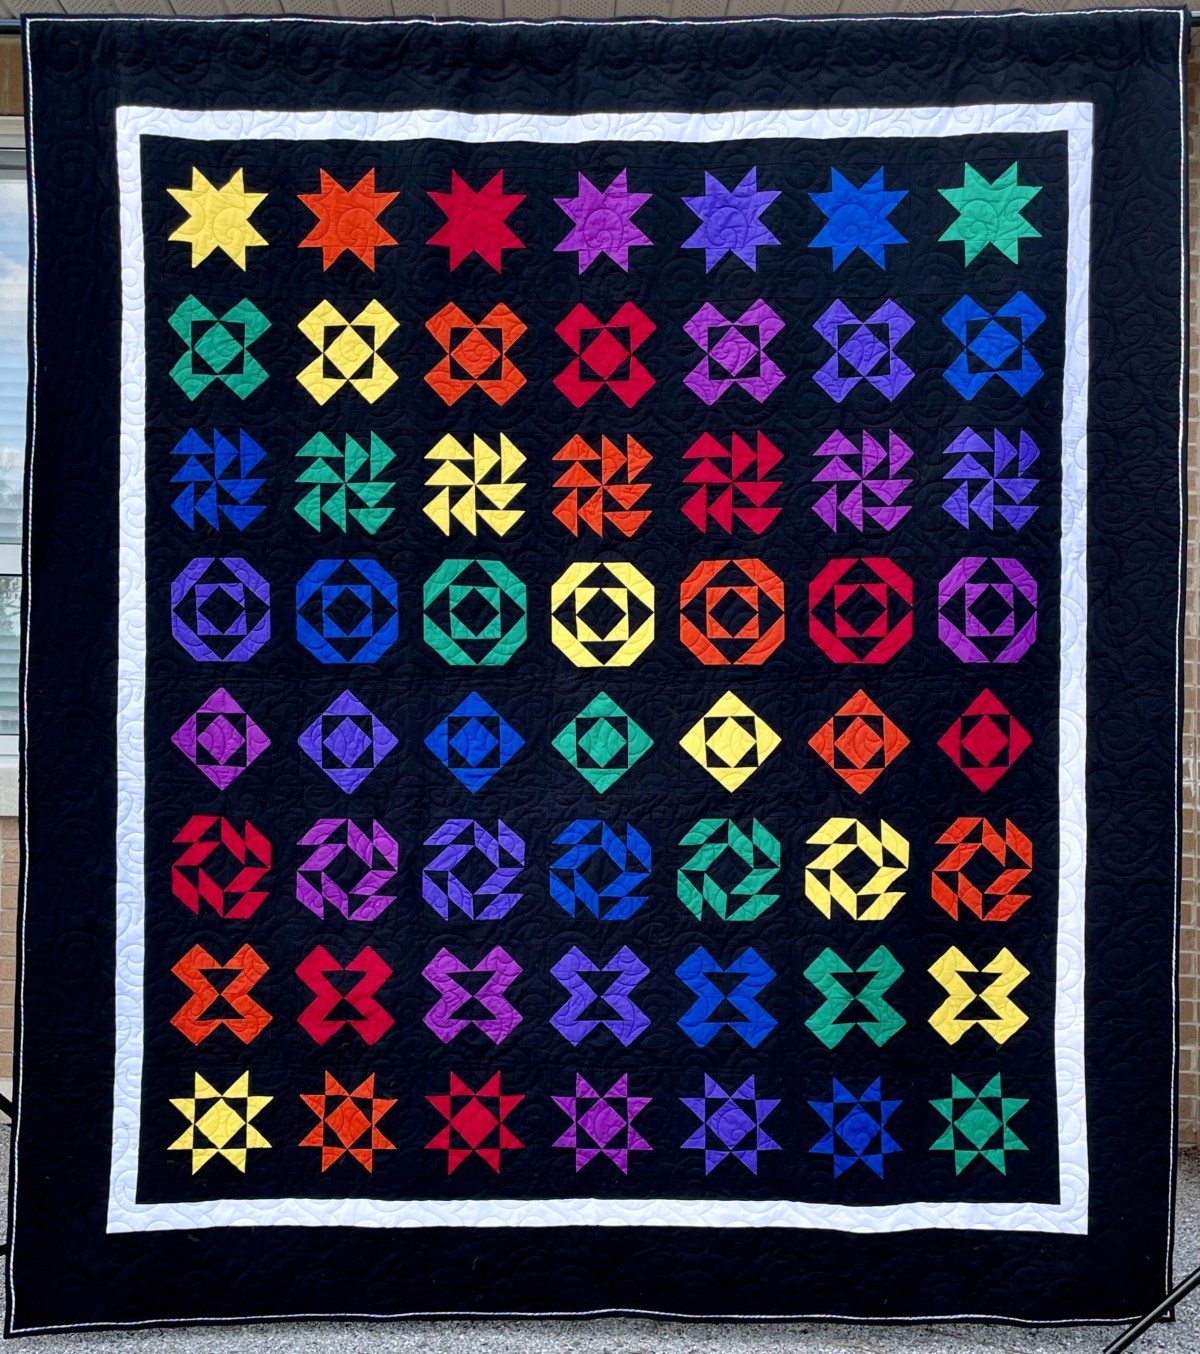
After the November meeting, my guild doesn’t meet in person again until March. I pieced my blocks and assembled my quilt over the winter, so I could show my finished top to everyone when they turned in their blocks. I was able to getting pretty good matching of points, despite the concerns that some of the pieces weren’t perfectly accurate.

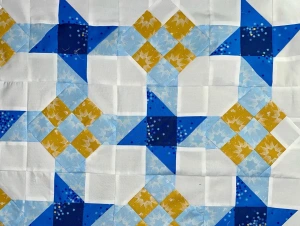
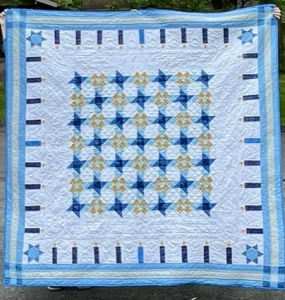
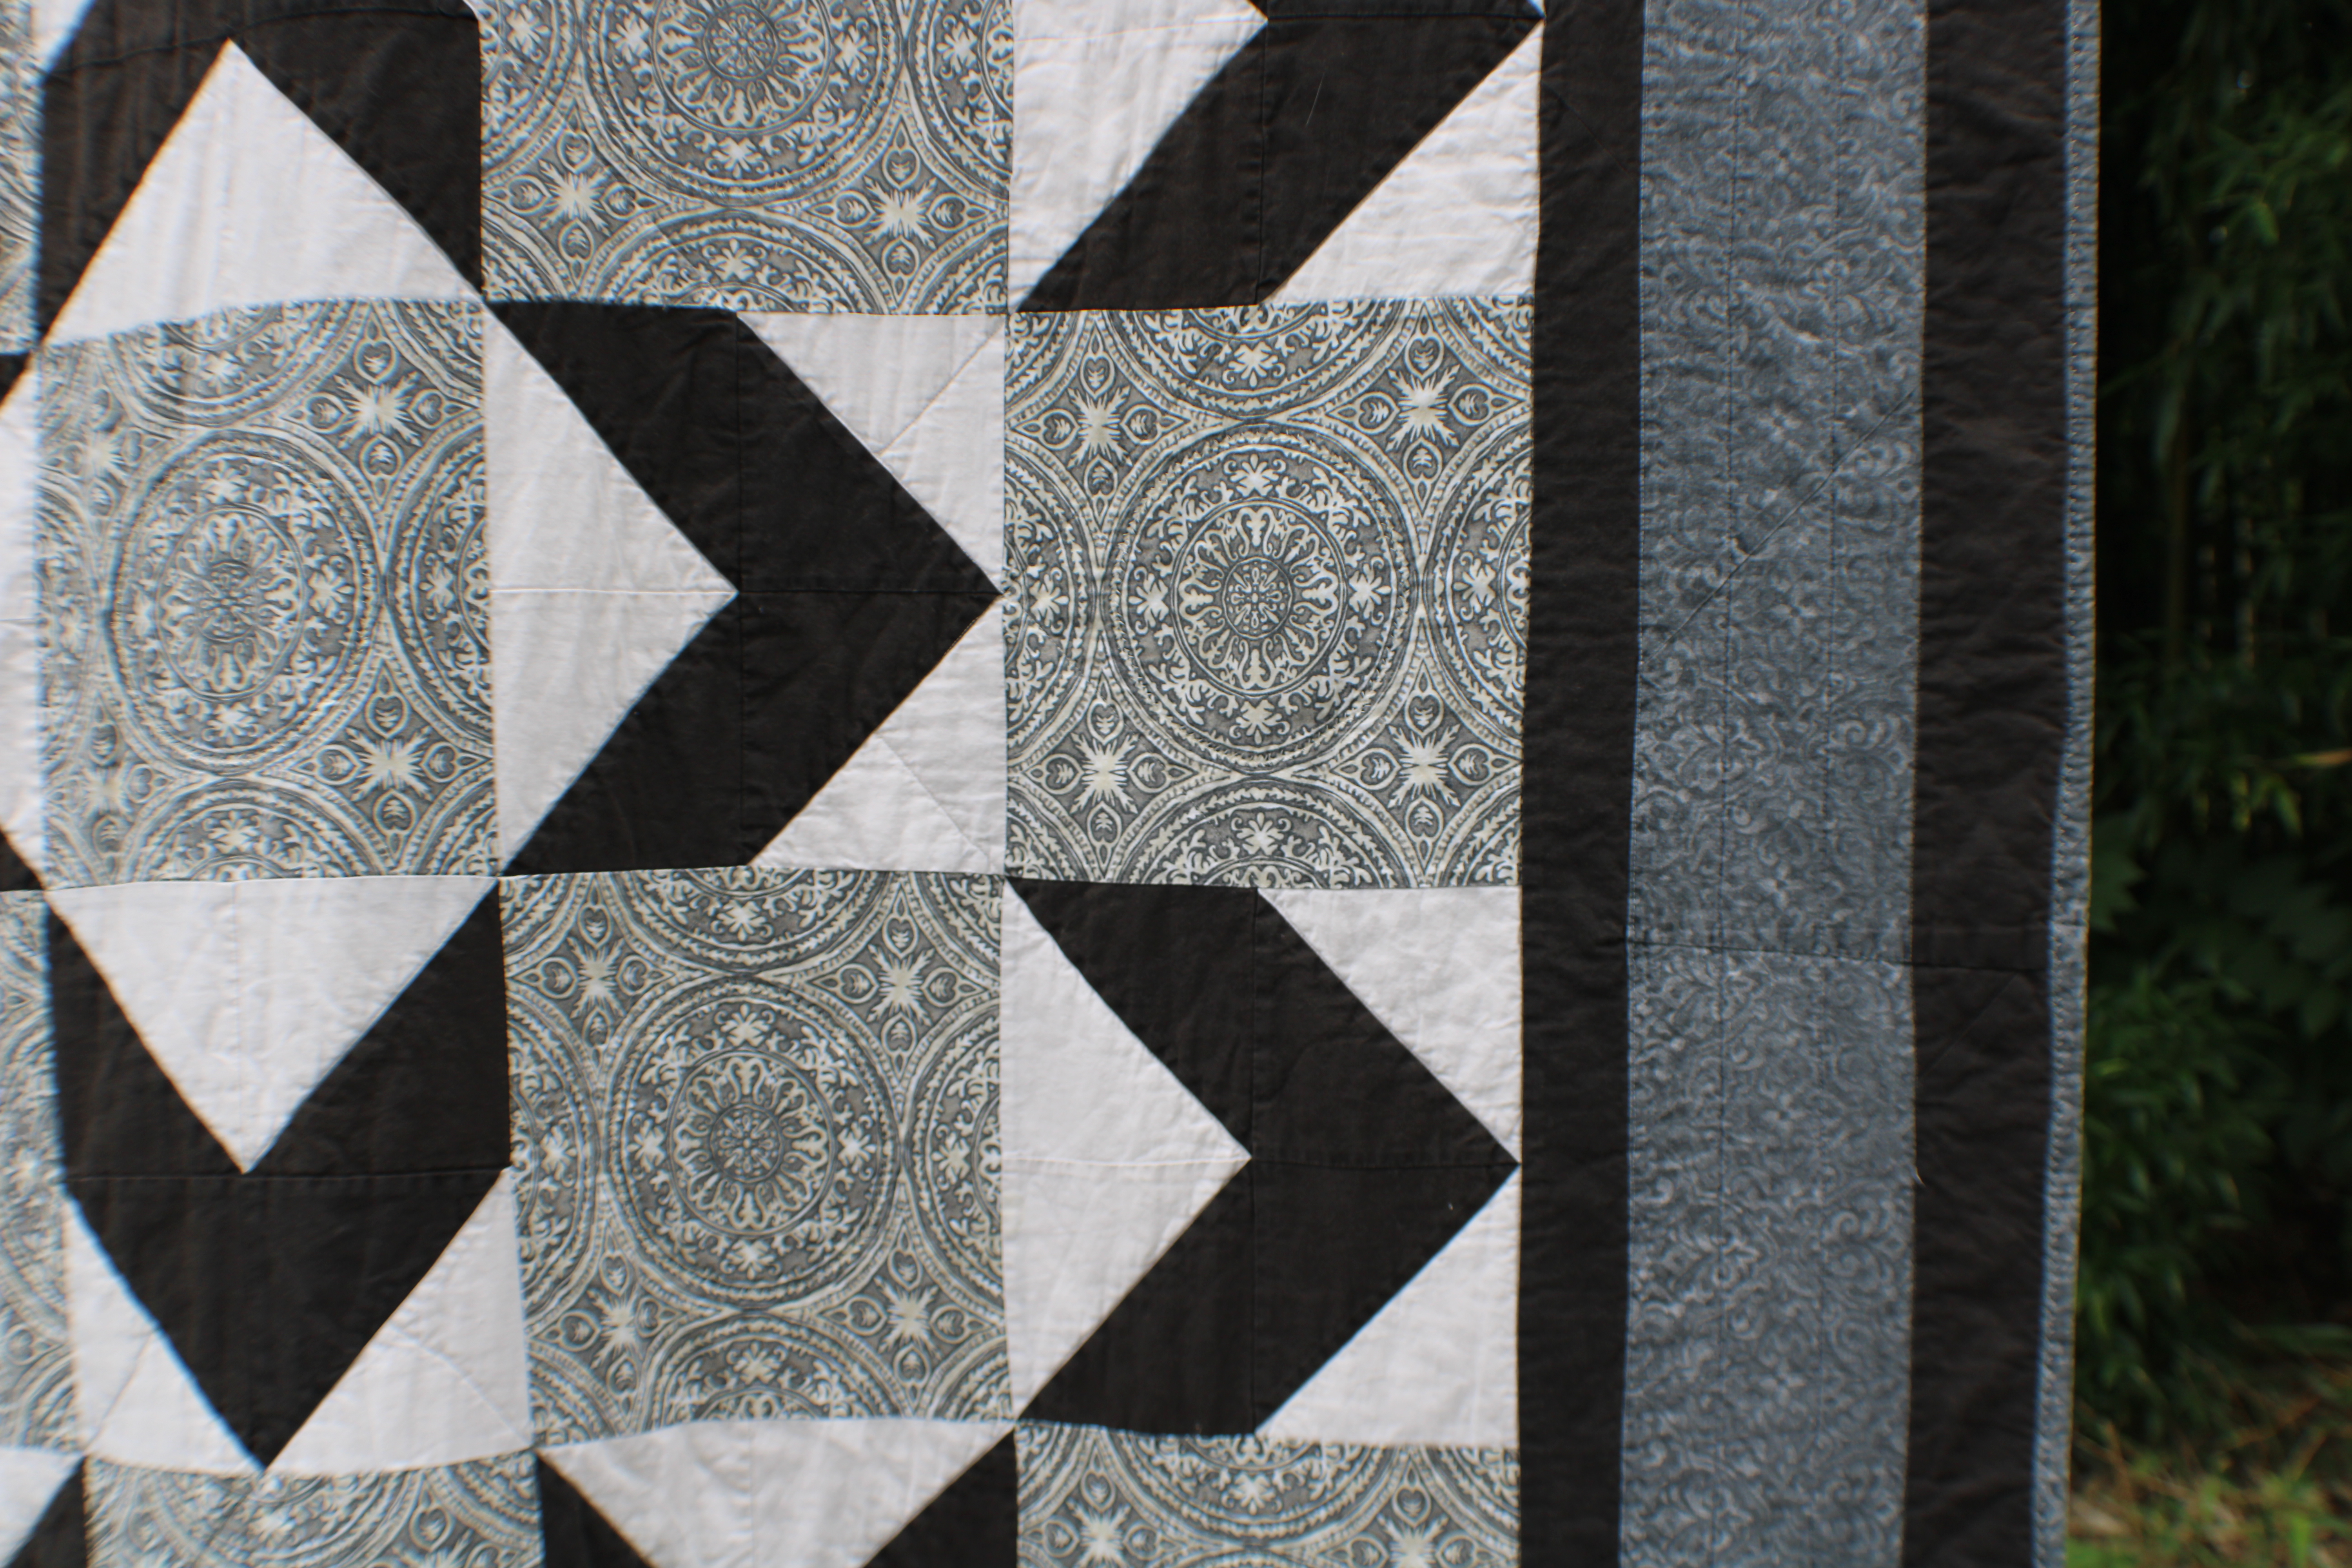
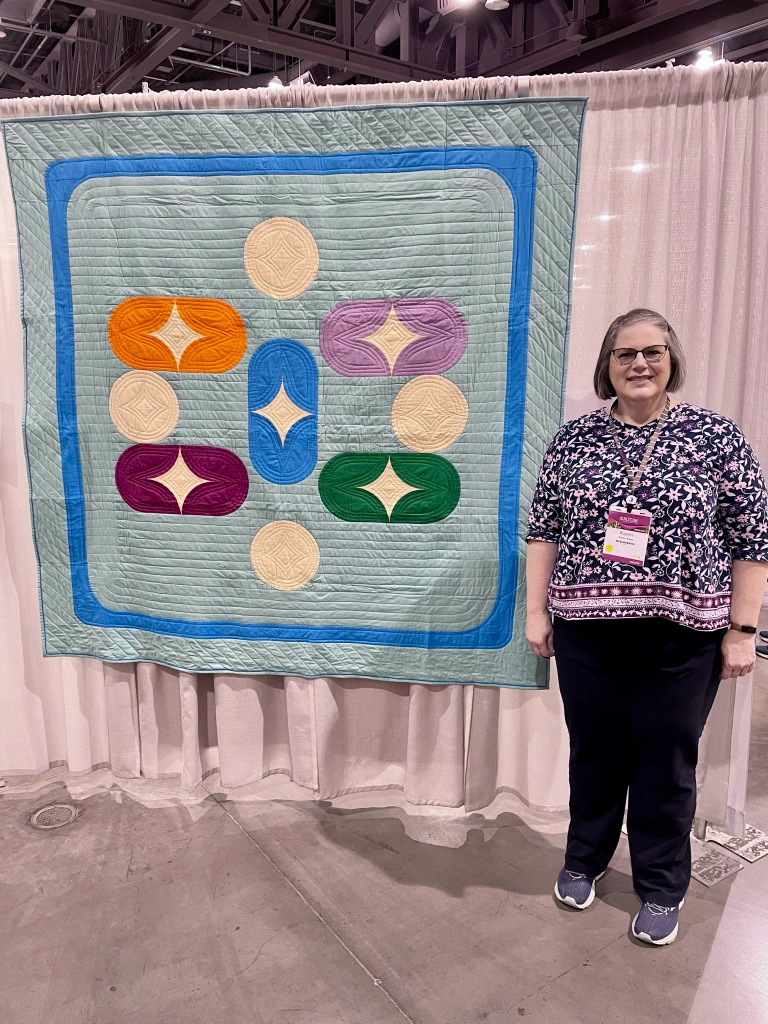
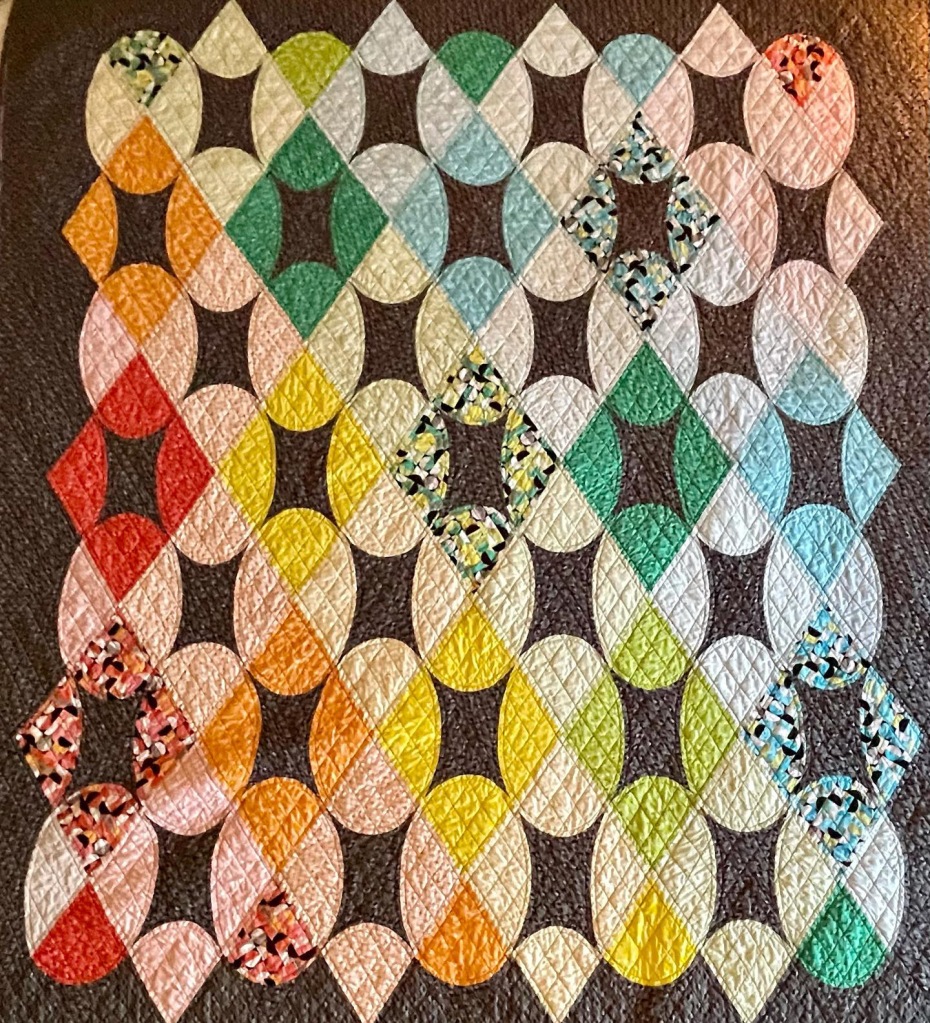
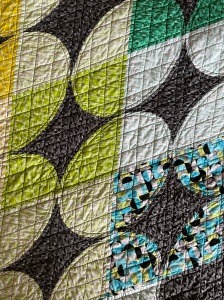
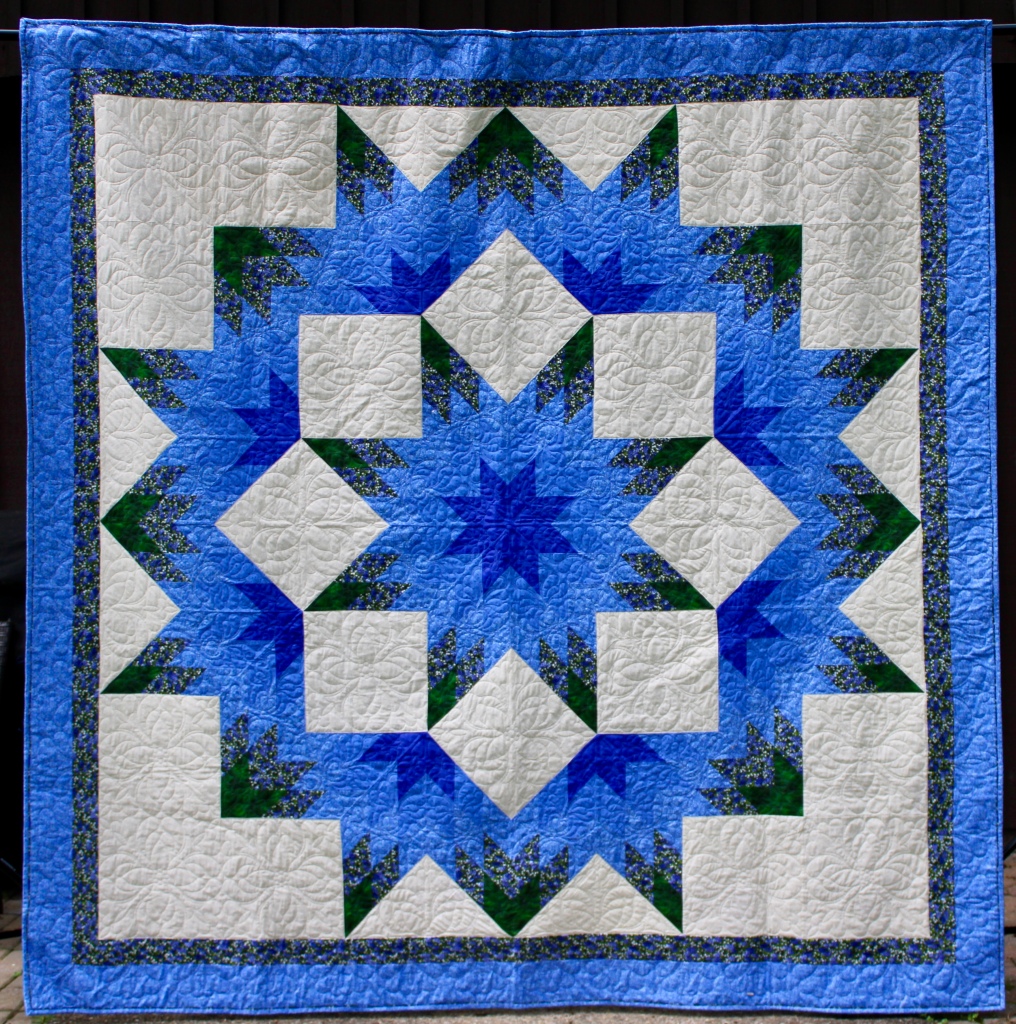
Here’s the finished quilt – pretty close to the mock up. Here’s a close up, so you can see my piecing. Not perfect, but I am happy with the result.

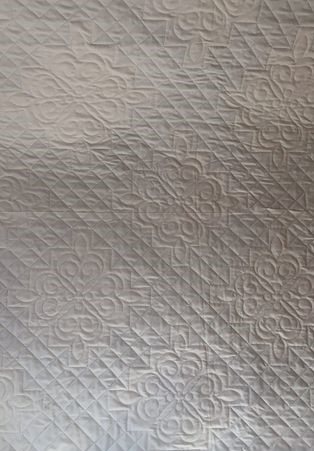
All of the guild members returned their blocks, most of them finished beautifully. A couple returned the kits, but I was grateful to get it all back. I finished all the unfinished blocks and assembled most of the guild’s quilt, when I had a family emergency. My wonderful small group, the EQ7 came and picked up the remaining sashing and borders, made arrangements with one of the long arm quilters in our guild, and got it all finished on time.
The finished quilt will be at our September meeting, and we will start selling raffle tickets for our June 2025 raffle. As an extra fund raiser, I have written up the pattern, and all proceeds from the sales from now until June 2025 will go to the Friendship Star Quilt Guild. Check out my Etsy shop, if you want a copy.
Tell me about your experiences with Guild Raffle Quilts.