
As you know, I am a nurse and that affects my approach to quilting, especially when making Sick Day Quilts. Wheelchair quilts are a special category. There are so many questions I like to ask when planning a wheelchair quilt – Who will use it? Where (indoors, outdoors)? Can the user stand up on their own? and so on…
There are a few basics to remember: 1. Wheelchairs have wheels. You do not want the quilt to get caught in the wheels. It is bad for the quilt and can cause an accident. 2. People are different sizes. A wheelchair quilt for a child will be shorter and narrower than one for a large, older adults. I am offering one size of wheelchair quilt here, but this can be customized for any size.
If you are making wheelchair quilts as a service or charity project, remember to make some in a wide variety of colors and patterns. Not everyone like florals, or cats, or geometric prints. Some people like solids, or sports prints or regional prints. I strongly encourage making wheelchair quilts for gifts and donation.
The full directions are on my tutorial page and are here.
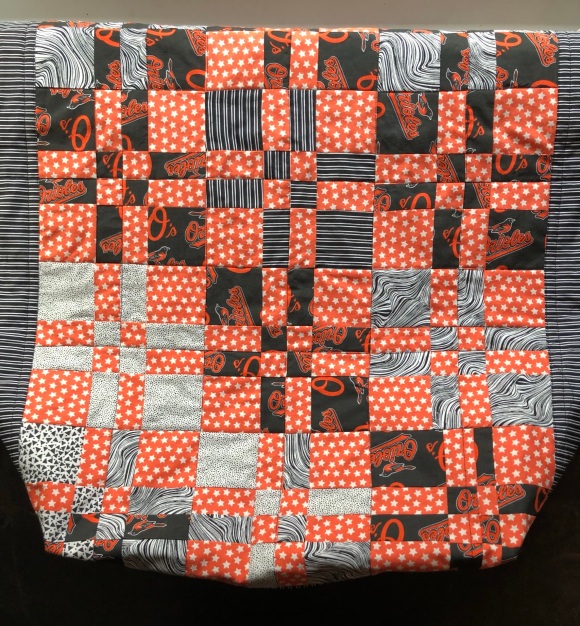
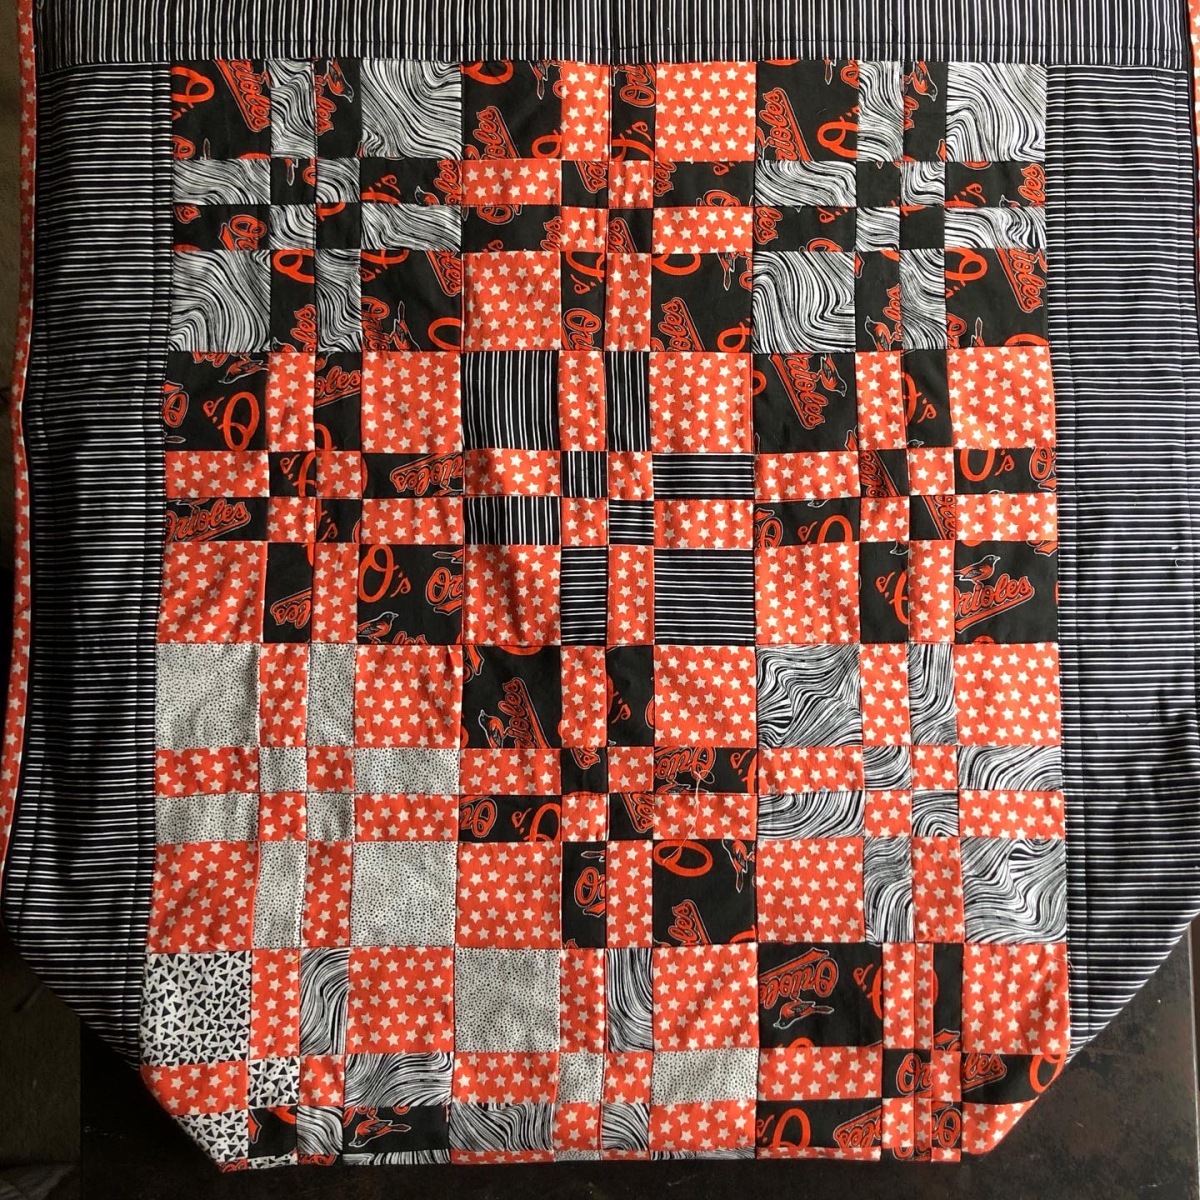
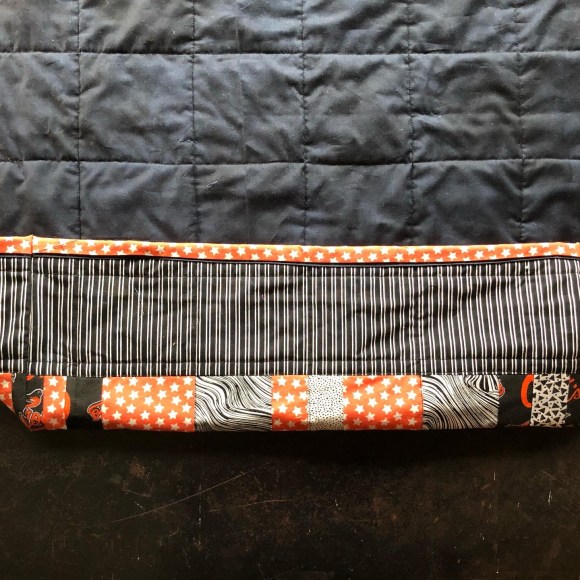
I made my test quilt in leftover Baltimore Orioles fabric and scraps of leftover orange, black and white prints. The pattern is very flexible. I decided to play with disappearing four patch patterns, so my squares were smaller than the 9 inches called for in the pattern. I just increased the border width to get the size I needed. You can also make it out of large print squares. The instructions specify four-patches, but any square that finishes at 9 inches will do. This is a great project for charm packs. This would also be a great use for test blocks from other quilts. If they are less than 9 inches, you can border them to get the right size.
WOF=Width of fabric
All seams are ¼ inch. All fabric should be sewn right sides together. Press after each seam. WOF = Width of fabric
Fabric needed:
- Color 1 = ½ yard
- Color 2 = ½ yard
- Border = ½ yard
- Binding = 1/3 yard Border fabric, 1/3 yard contrasting color (color 1 or 2)
Cutting Instructions:
- Color 1: Cut (3) 5 x WOF. Sub cut (23) 5 inch squares.
- Color 2: Cut (3) 5 x WOF. Sub cut (23) 5 inch squares.
- Border: Cut (2) 2 ½ inch x WOF, Cut (2) 3 ½ inch x WOF
- Binding: Border fabric: Cut (4) 1 3/8 inches x WOF. Contrasting fabric: Cut (4) 1 5/8 x WOF
Piecing
- Make 9 four patch blocks with color 1 and color 2 alternating.
- Assemble the quilt in four rows of three blocks each.
- Add 3 ½ inch borders down the sides. Measure the quilt lengthwise through the middle. Cut each border that exact length. Mark center on border and quilt top and pin border to quilt top matching centers. Sew with
- Add 2 ½ inch borders to top and bottom using the same instructions as step 3, but widthwise.

Finishing
- Layer backing (wrong side up), batting, and quilt top (right side up). Baste the layers together and quilt as desired.
- Trim the quilt square.
- Binding-
- Bind as desired. I like a flanged, two-color binding. The binding fabric (background fabric) will be the strip cut 1⅜″ wide, the flange fabric (Fabric E) will be the strip cut 1⅝″ wide.
- Take the 1⅜″ strips and 1⅝″ strips. Cut off all the selvedge edges. Sew four 1⅜″ strips together end-to-end with a 45-degree angle. To do this, layer the right sides of the strips together at a 90-degree angle. Draw a 45-degree angle from lower right to upper left. Sew on the line. Cut extra fabric away to leave a ¼″ seam allowance. Press open. Repeat with all four of the 1⅝ ″ strips.
- Then sew the 1⅝ ″ strips together in the same manner.
- Sew the two strips together along the long edge.
- Press seam allowance toward the background fabric (the 1⅜″ strip) and away from fabric E (the 1⅝″ strip). Now fold over with wrong sides together so the raw edges meet and press. About 1/8″ of fabric E will show above the background fabric on the right side of the binding. Only fabric E will be seen on the wrong side of the binding.
- On the back of the quilt, lay the binding with raw edges matching the raw edge of the quilt and the flange side (Fabric E) up. Start on the long side, 3 inches above the bottom corner. Stitch binding to back with ¼″ seam.
- At the first corner, stop stitching ¼″ before the corner (A) and stitch off the corner at a 45-degree angle (B). Then fold the binding down as shown (C). Starting at the edge, backstitch then continue with a ¼″ seam to the next corner. Finish two corners as described above.
- Stop 3 inches above the third corner, which should be at the bottom of the quilt. Back stitch and cut off the binding. The edge does not need to be turned under because it will be cut off for the toe box.
- Start again on the bottom edge 3 inches from the corner and attach binding up to 3 inches before the fourth corners.
- Your top two corners will have mitered binding. The bottom two corners will have 3 inches on either side left unbound.
- Press the binding out with seam pressed toward binding. Then press binding over to the front of the quilt. Pin corners with miters. Slowly stitch in the ditch of the flange all the way around the quilt using thread that matches the flange color.
Keep the remaining binding for the toe box
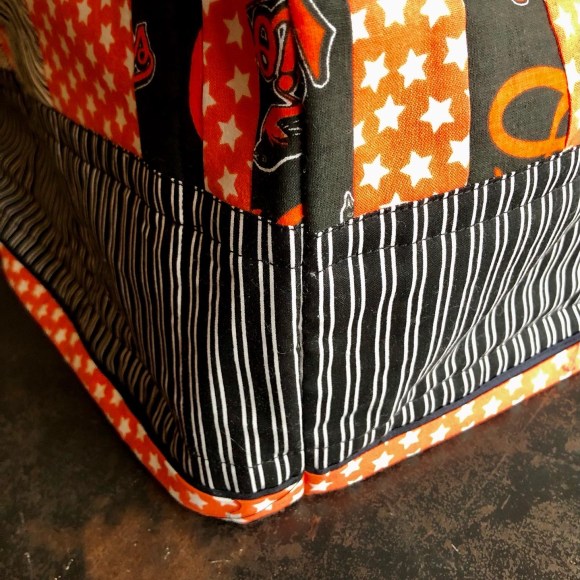
Forming the Toe Box
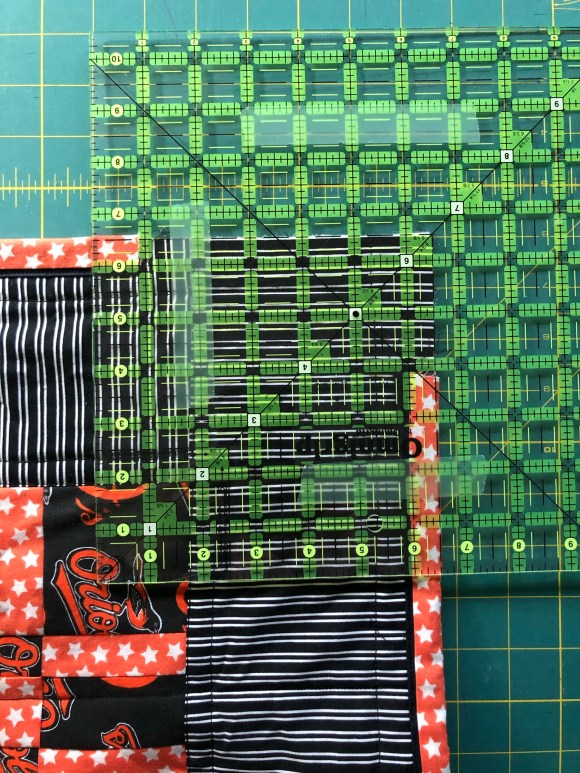
- After you bind the quilt, cut a 6.5 inch square from each of the bottom two corners. That should cut off the border and one patch of each of the corner four-patches.
- Sew the remaining raw edges to form a 90 degree angle. The bottom of the quilt should be like two sides of a box.
- Enclose the raw seams in additional binding. Make sure you turn the raw edges of the binding under before sewing.
I would love to see your wheelchair quilts and hear about who is using them!
