
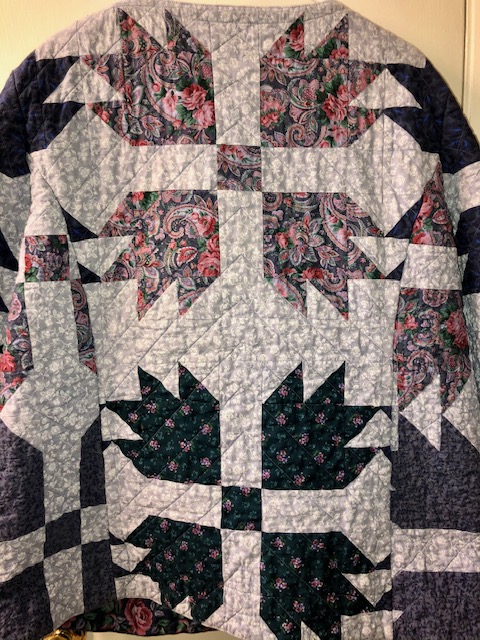
Last year I participated in a blog hop for November. The topic was unfinished objects or UFOs. I pulled out my Bear’s Paw blocks from the early 1990s and turned them into a quilt coat. The coat is one of my favorites and it has been worn a lot. For that alone, I am glad that I participated last year. But participating in the UFOvember also made me think differently about my UFOs. My quilty colleagues had so many ideas and insights into why we create UFOs and what to do with them.
This year Bobbi Gentili (also known as Geeky Bobbin) is hosting the blog hop again, and I am enthusiastically joining in.
Just like last year, I will start with a reckoning of my current UFOs. (This is always the painful part.) I am starting with last year’s table so you can see how many UFOs got finished!
| Quilt Name | Year Started | Current State | Why I Didn’t Finish |
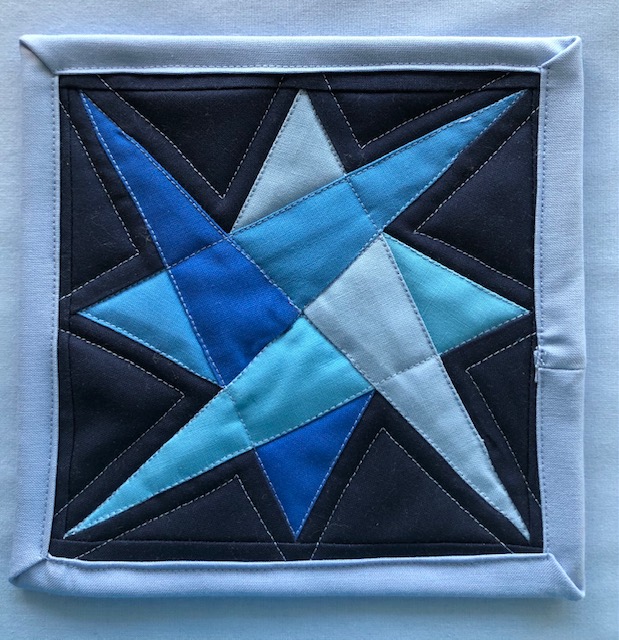
| Bethlehem Star Wallhanging | 1993 | Needs quilting | Was hand quilting, which I took out because I would never finish it hand quilting. |
| Double Irish Chain | 2018 | Pieced, assembled, long arm quilted by Prairie Folk Quilt Company. Waiting to be bound. | |
| What My Grandma Gave Me – English Paper Pieced Carpenter’s Wheel | 2019 | Still piecing | I will be piecing this for a long time – it is hand sewing and takes me forever! |
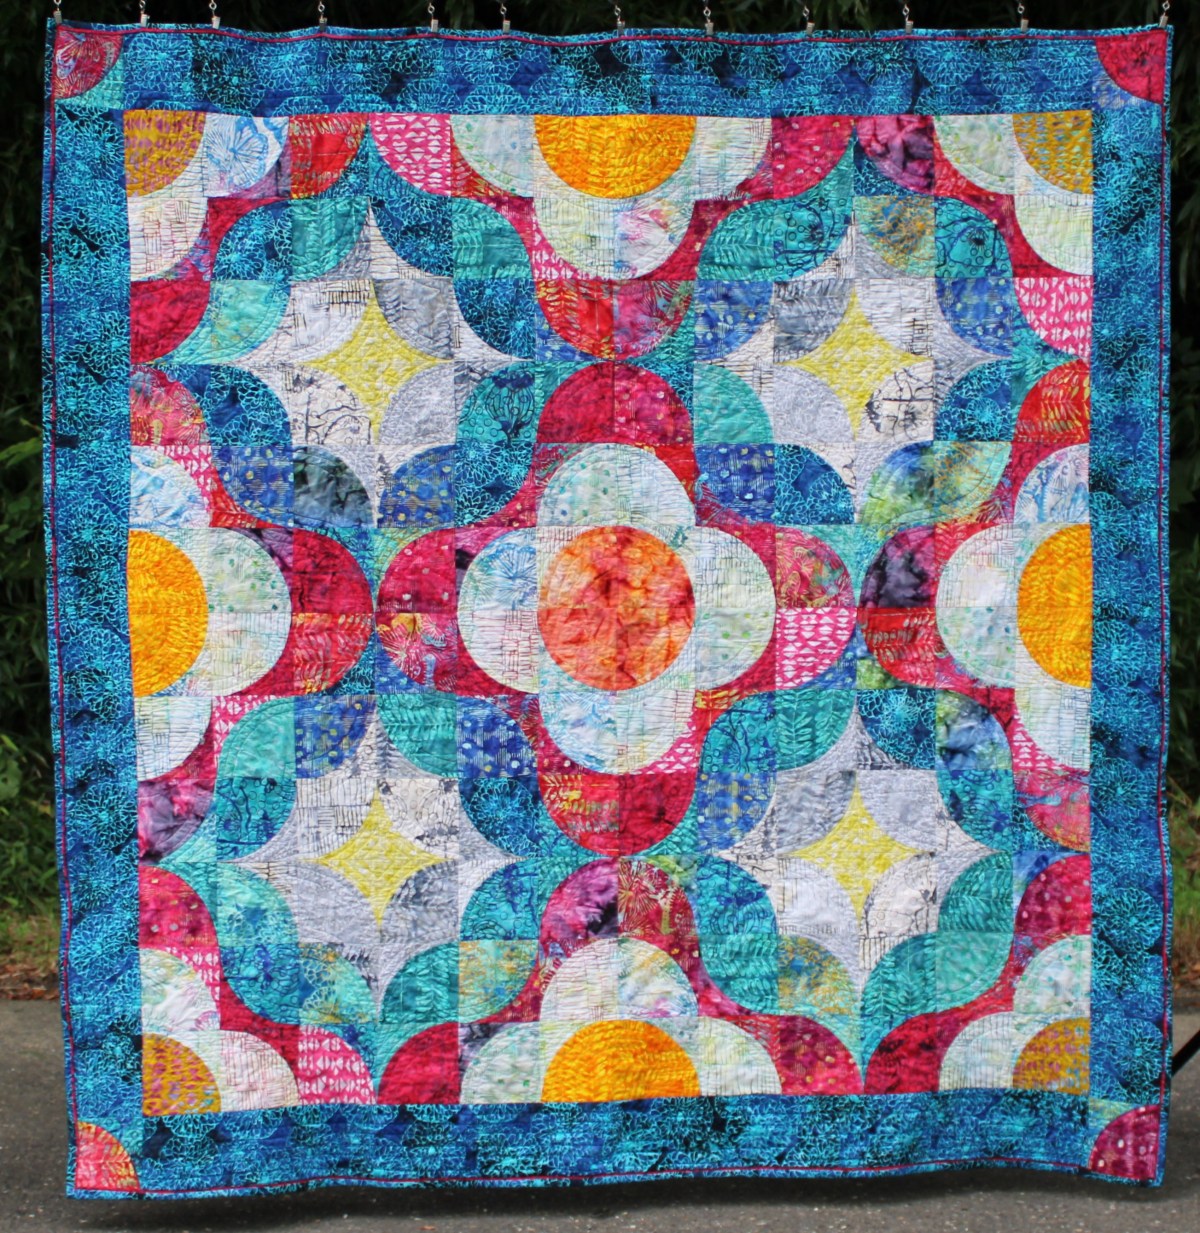
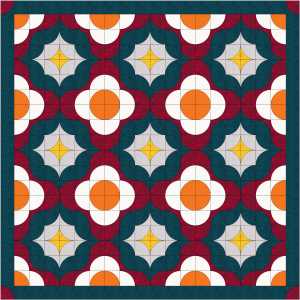
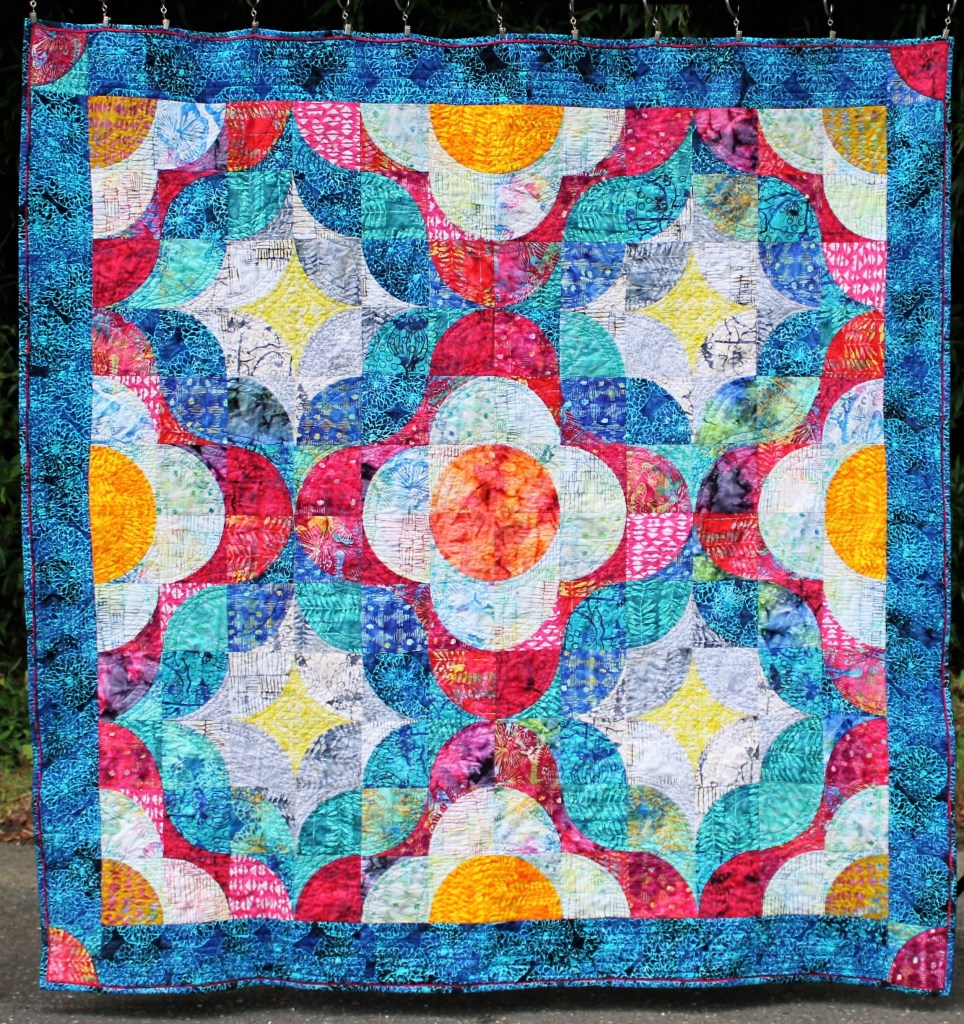
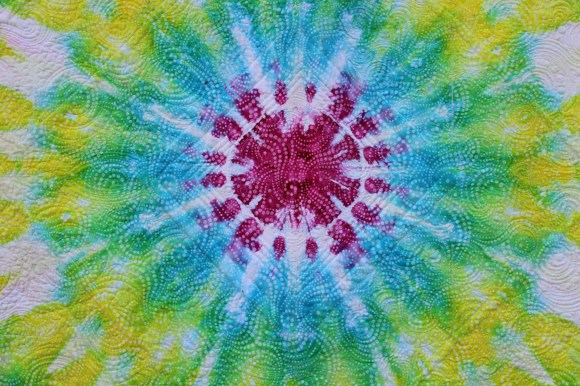
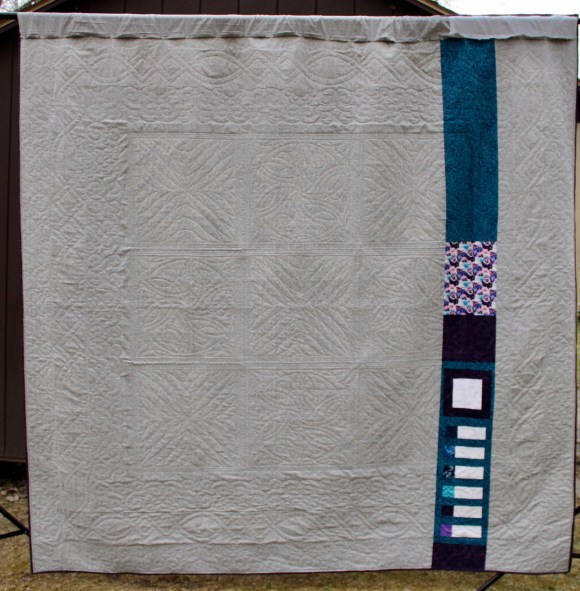
| Rainbow Hand Dye | 2020 | Front pieced, back partially pieced | Set aside to finish Tree of Life quilt and pattern |
| Tree of Life Table Runner | 2020 | Partially quilted | Set aside to work on other projects with deadlines. Completing this is my one monthly goal for November! |
| 100-Day Improv Quilt-a-Long | 2020 | 100 days ends 12/23/2020. Quilting is already planned out. |
I got 5 UFOs finished this year, rehomed one, and made progress on two more. Here’s my current UFO list:
| Quilt Name | Year Started | Current State | Why I Didn’t Finish |
| Bethlehem Star Wallhanging | 1993 | Needs quilting | Was hand quilting, which I took out because I would never finish it hand quilting. |
| Double Irish Chain | 2018 | Pieced, assembled, long arm quilted by Prairie Folk Quilt Company. Waiting to be bound. | I decided that I like the quilt and there was no reason to wait. |
| What My Grandma Gave Me – English Paper Pieced Carpenter’s Wheel | 2019 | Still piecing | I will be piecing this for a long time – it is hand sewing and takes me forever! |
| Rainbow Hand Dye | 2020 | Front pieced, back partially pieced | Set aside to finish Tree of Life quilt and pattern |
| Tree of Life Table Runner | 2020 | Partially quilted | Set aside to work on other projects with deadlines. Completing this is my one monthly goal for November! |
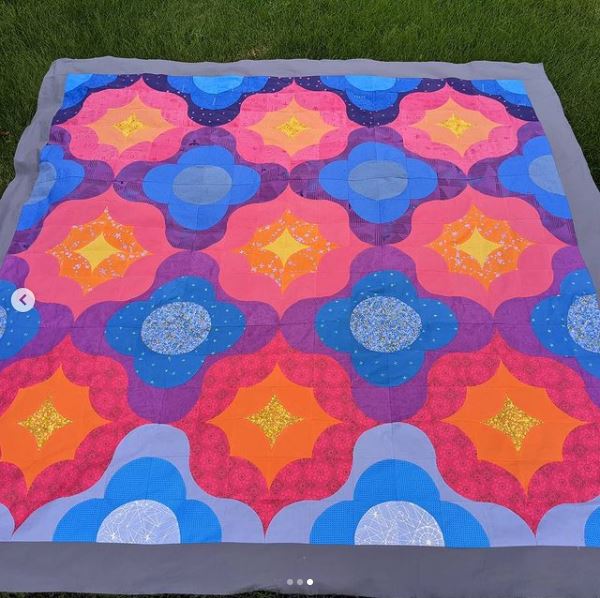
| 100-Day Improv Quilt-a-Long | 2020 | Pieced, assembled. Backing selected. Still needs quilting. | Quilting is already planned out. |
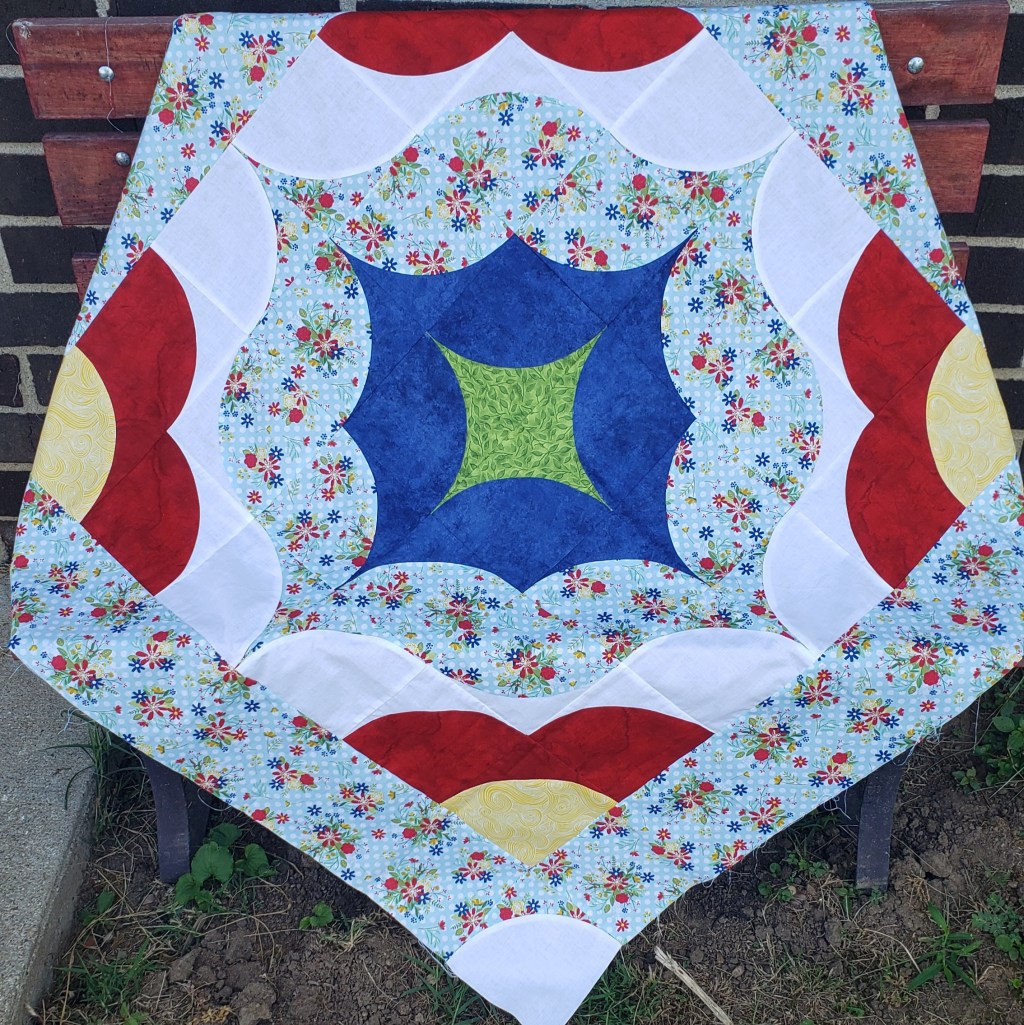
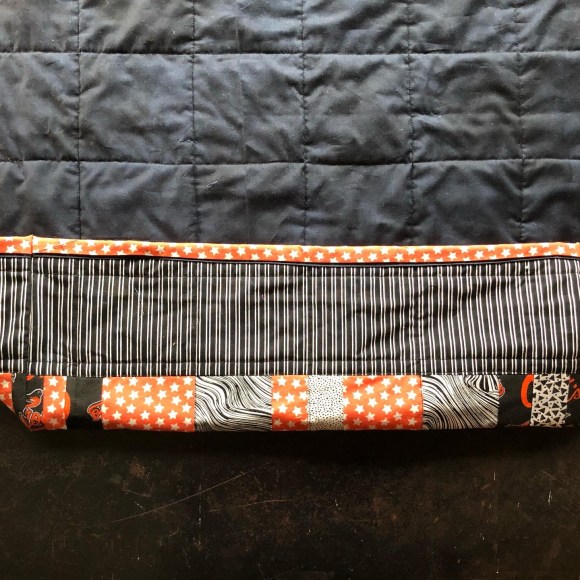
| Christmas Table Runner | 2020 | Pieced, assembled, basted. | Didn’t finish before the holidays. |
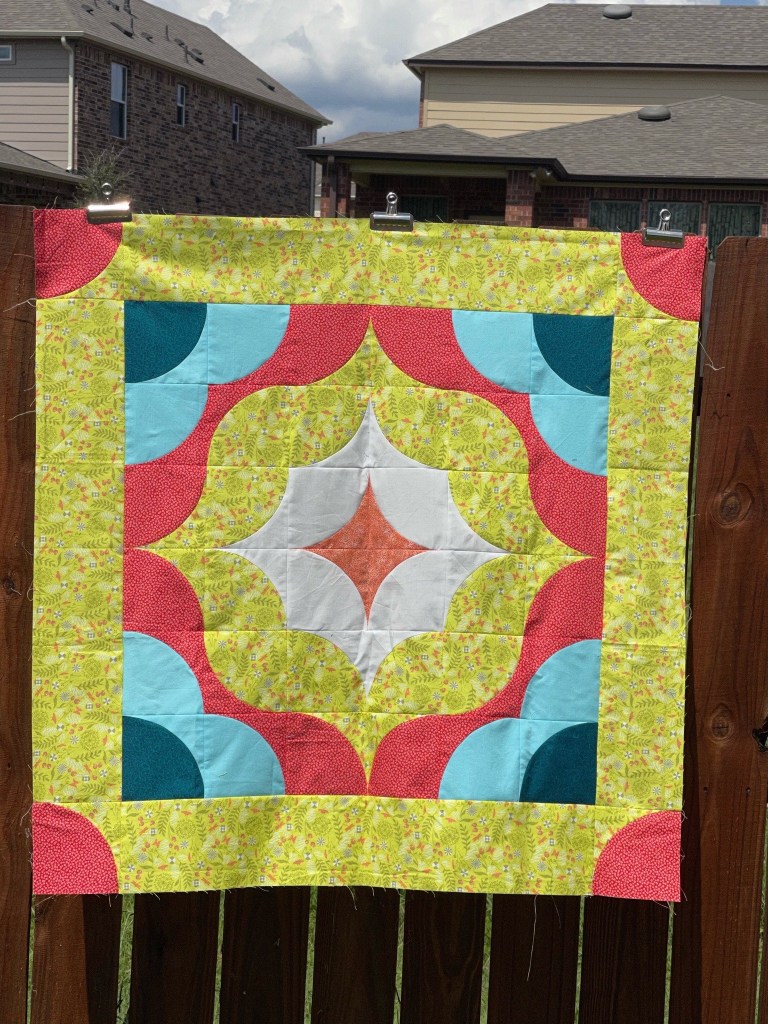
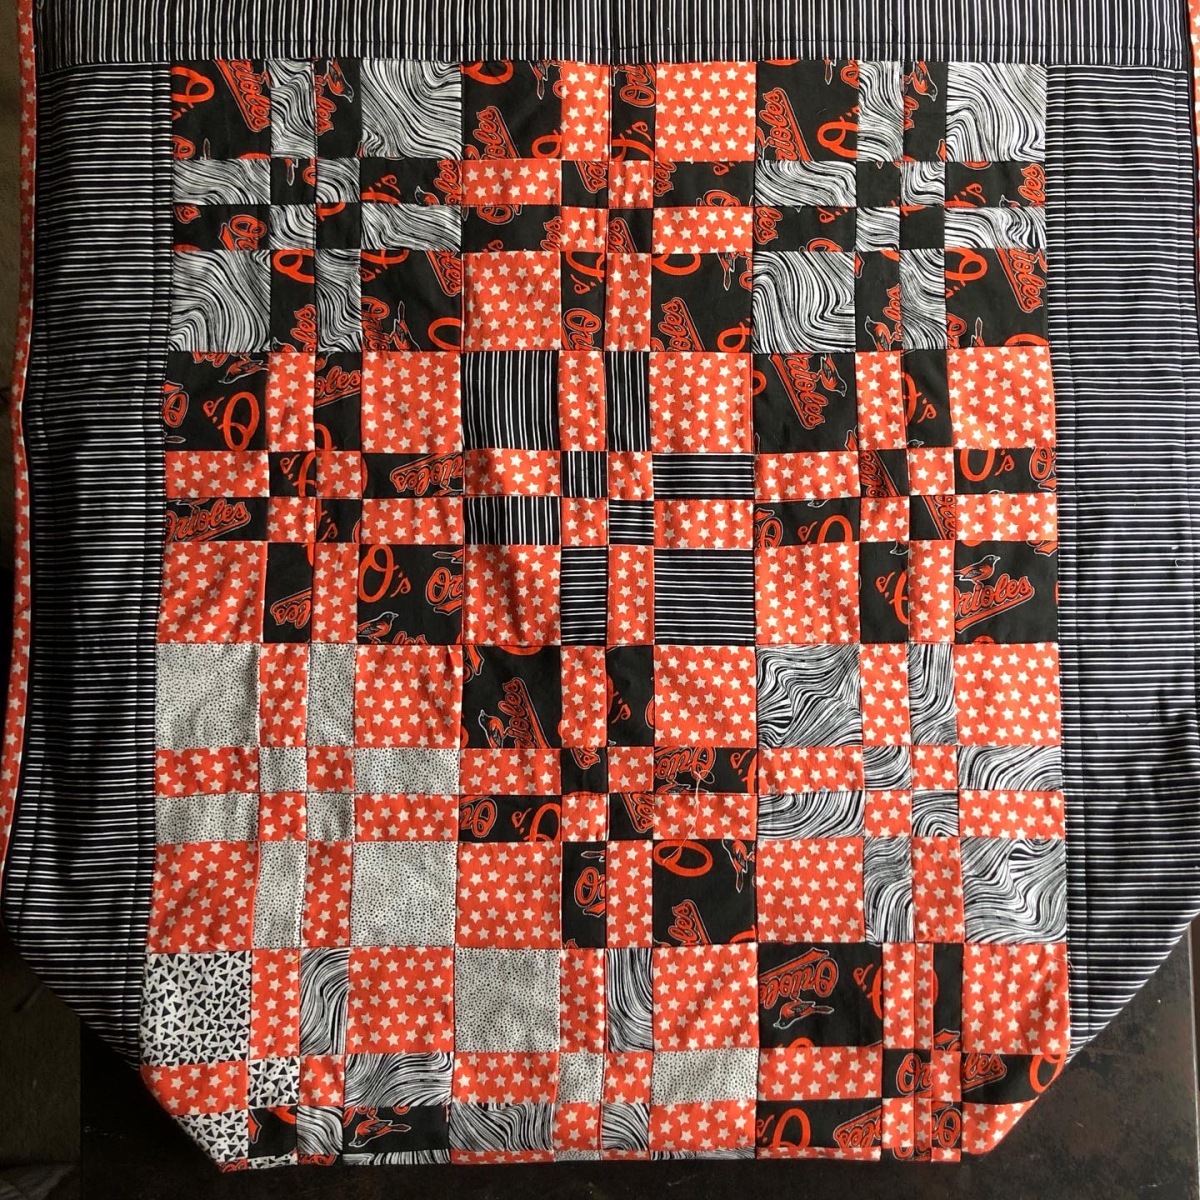
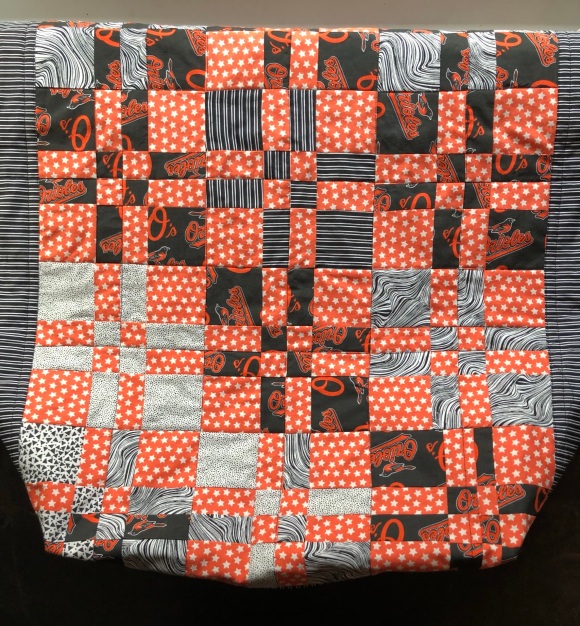
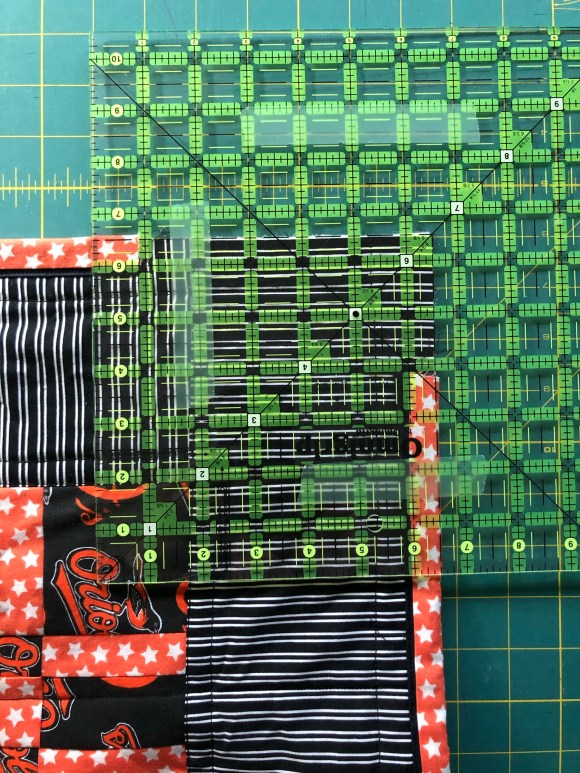
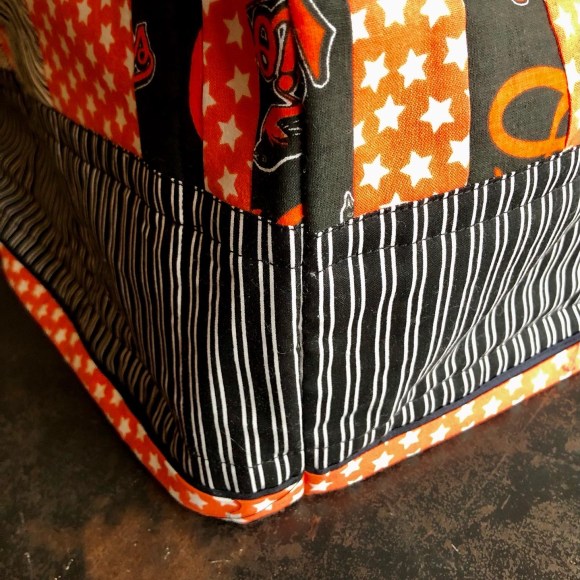
| Singapore Sling | 2021 | Pieced, assembled, basted, and partially quilted. | Ran into problems with quilting and didn’t finish in time for QuiltCon2022 submission deadline. |
Over the past year I have completed 5 UFOs and only added 2, so I have a net loss of 3 UFOs. That makes me very happy!
Later this month I will share more about how I power through these UFOs.
Here is the list with links to all of the UFOvember blogs. I encourage you to check them out:
November 1 – The Geeky Bobbin – http://geekybobbin.com
November 2 – Strawberry Creek Quilts – www.strawberrycreekquilts.com
November 3 – Katie Mae Quilts – katiemaequilts.com
November 4 – Pretty Piney Quilts – https://prettypiney.com/blog
November 5 – Mary Go Round Quilts – www.marygoroundquilts.com
November 6 – Exhausted Octopus – https://exhaustedoctopus.com/blog/
November 7 – Just Get It Done Quilts – https://www.justgetitdonequilts.com/blog
November 8 – By Hilary Jordan – https://byhilaryjordan.com/
November 9 – Sew Hooked on Treasures – sewhookedontreasures.com
November 10 – Sunflower Stitcheries and Quilting – www.sunflowerstitcheries.com
November 11 – Blue Heron Quilting – https://www.blueheronquilting.shop/blog
November 12 – Carrington Creates – https://cbear7774.wixsite.com/thatsthewayitseams
November 13 – Sarah Goer Quilts – https://www.sarahgoerquilts.com
November 14 – Better Done Quilts – https://betterdonequilts.com/
November 15 – Ashli Montgomery/Virginia’dele Smith – http://www.meandcoach.com
November 16 – Puppy Girl Designs – http://puppygirldesigns.com
November 17 – Lovingly, Lissa – lovinglylissa.com
November 18 – Art East Quilting Co – www.arteastquiltingco.com
November 19 – rjbosscher – www.rjbosscher.com
November 20 – Love to Color My World – http://lovetocolormyworld.blogspot.com/
November 21 – LynsAvenue – lynsavenue.com
November 22 – Quiltfox Design – https://www.quiltfox-design.com
November 23 – Maeberry Square – https://www.maeberrysquare.com
November 24 – Karen Bolan Designs – https://www.karenbolan.com/blog
November 25 – Tina1802 – www.tina1802.com
November 26 – Lazy Cozy Quilts – www.lazycozyquilts.com
November 27 – True Blue Quilts – www.truebluequilts.com
November 29 – Sarah Ruiz Quilts – sarahruiz.com
November 30 – Lyric Art – LyricKinard.com
How are your UFOs?